Windows often gives your networks generic or SSID-based names—making it hard to distinguish one from another. This guide explains three ways to rename them, from editing the Windows registry to using a free third-party tool, so you can easily organize your connections.
Subscribe
Uncategorized
Don’t like your Windows network name? Here’s how to change it

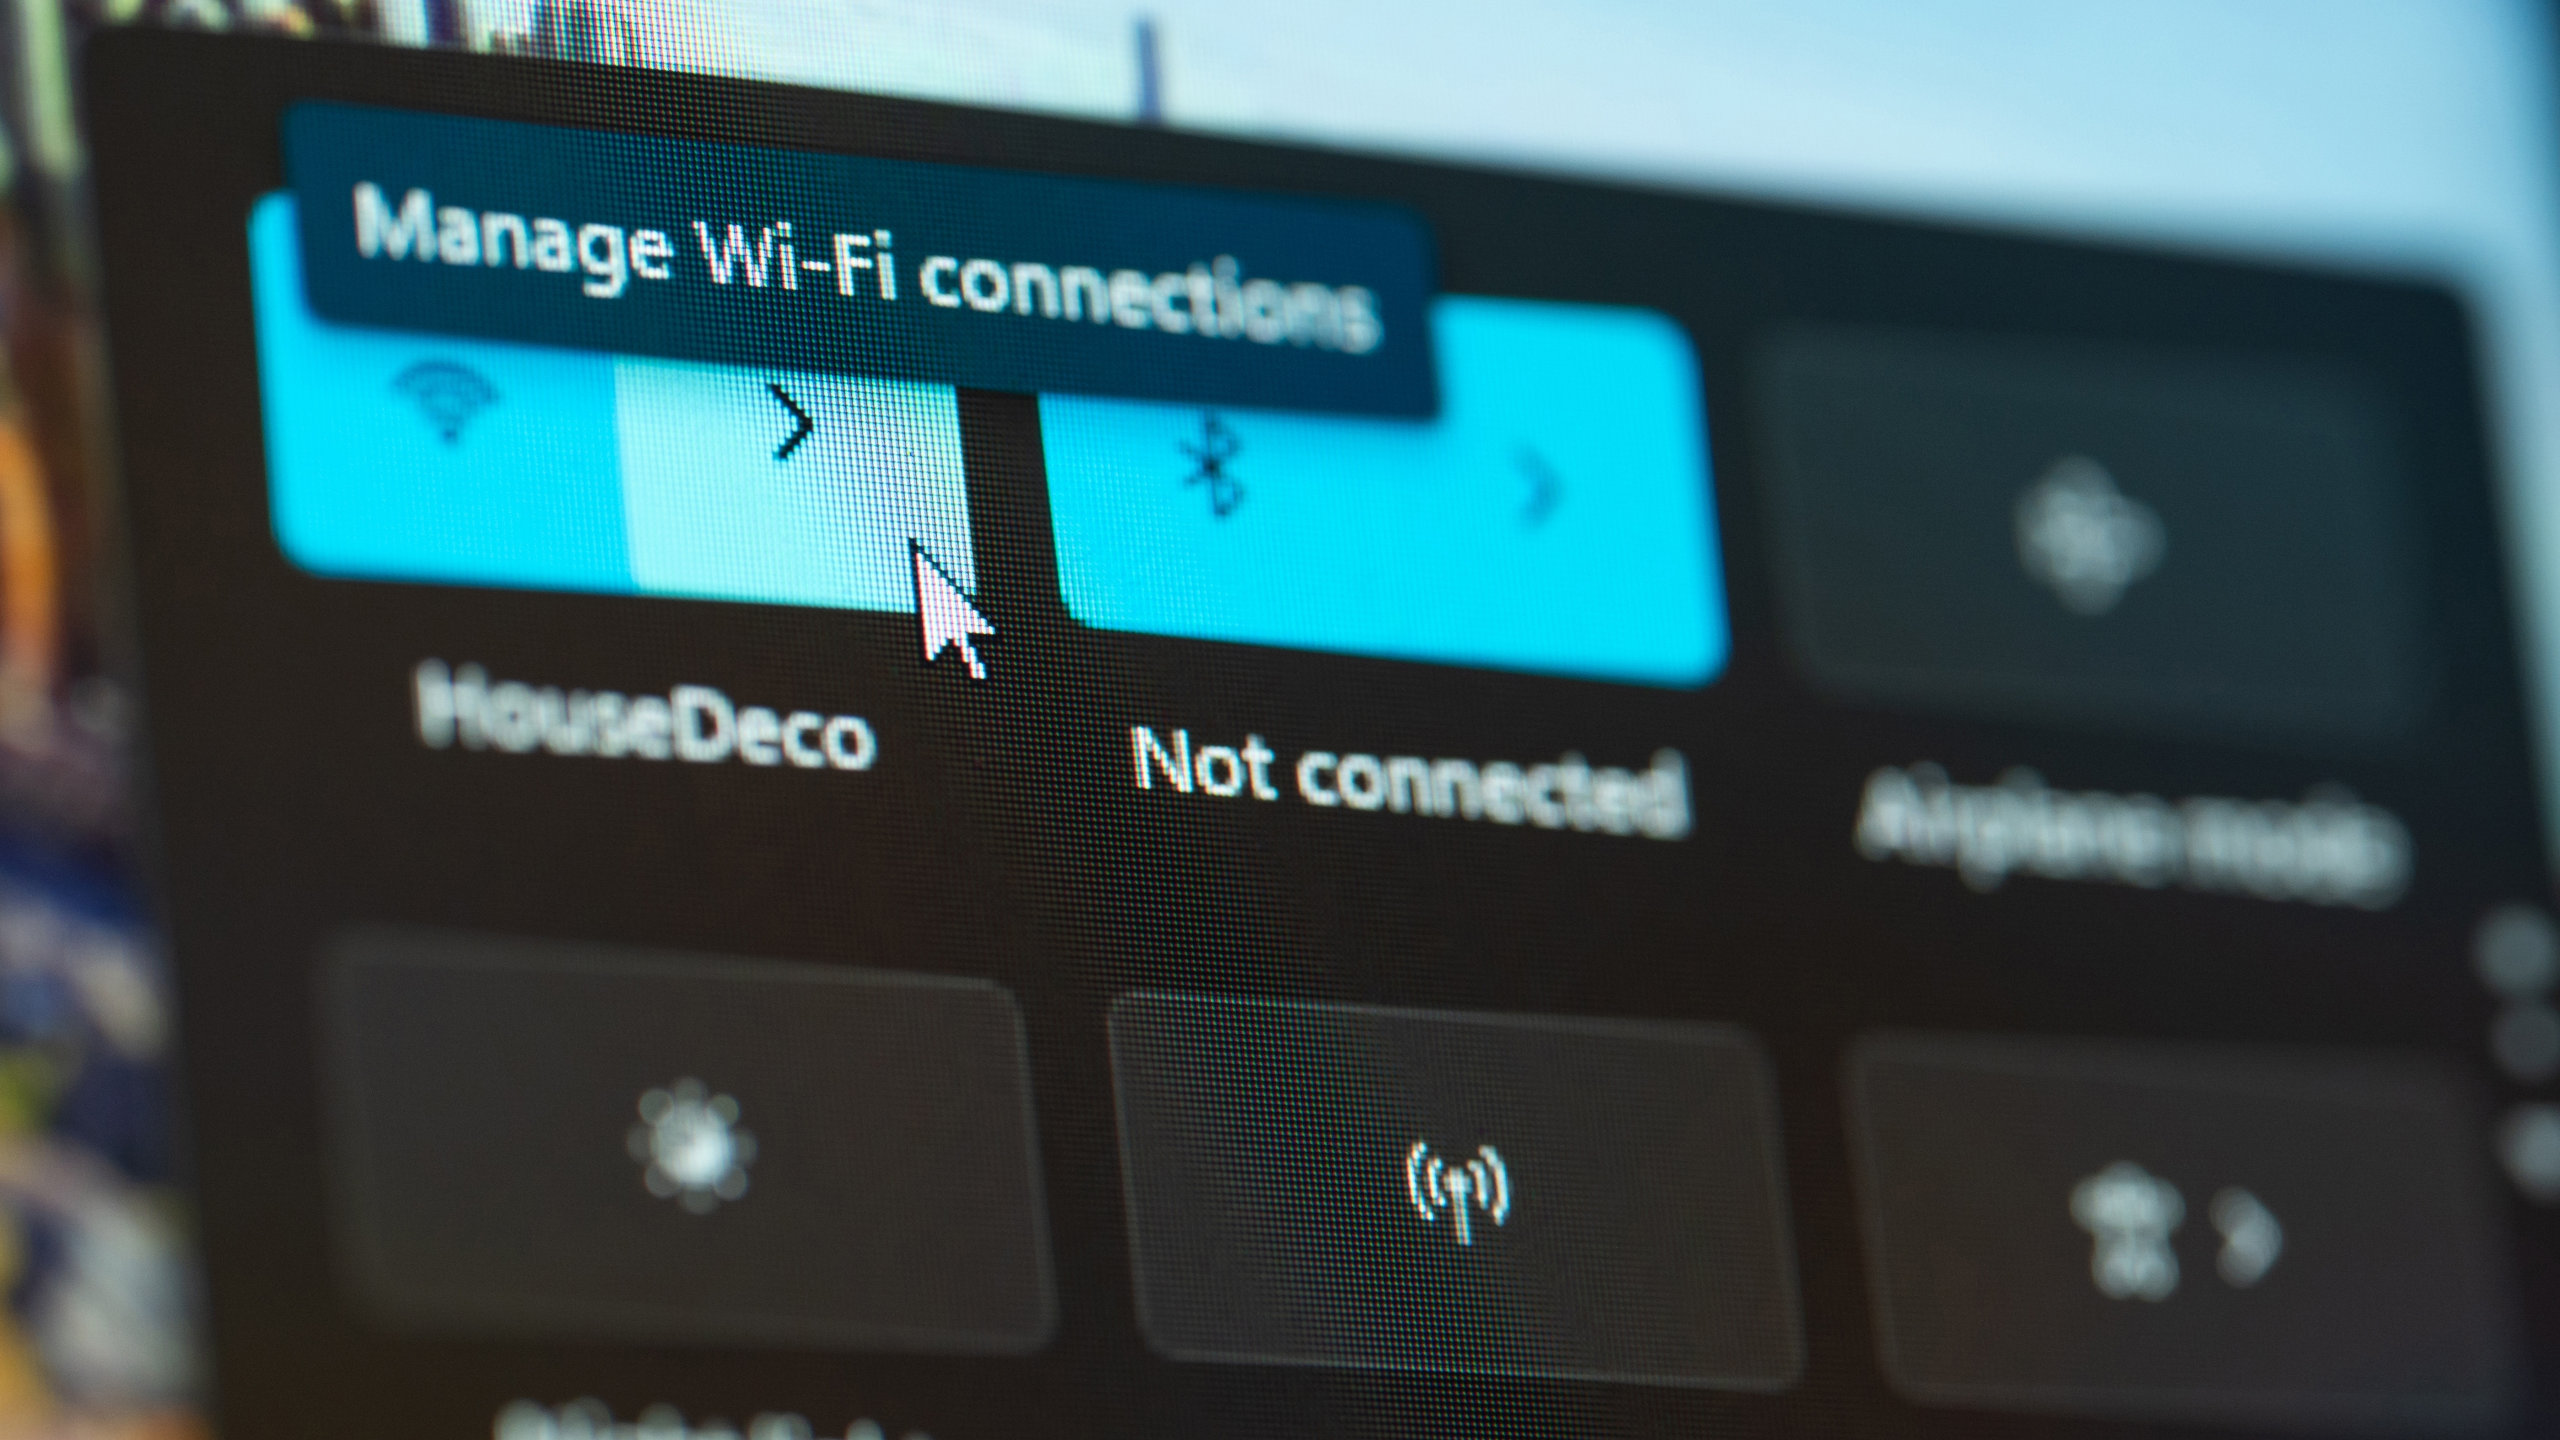
Photo by Pcworld
Key Takeaways:
- Windows automatically names network profiles and offers no direct renaming setting in Settings or Control Panel
- You can rename your network profile by editing the registry
- Local Security Policy is an alternative, though only for specific Windows editions
- A free tool called Network Profile Name Changer simplifies the process
Introduction to Renaming Network Profiles
Windows typically assigns generic or SSID-based names when you connect to Ethernet or Wi-Fi networks. These can appear as “Network 1,” “Network 2,” or simply the network’s SSID. While functional, these labels can be confusing if you have multiple networks on the same system.
Why Windows Uses Generic Names
The operating system automatically creates a unique profile the first time you connect to a network. For Ethernet, Windows uses sequential naming, while for Wi-Fi it adopts the SSID as the name. Unfortunately, there is no dedicated option in either Windows Settings or the Control Panel to change these labels.
Method One: Using the Registry Editor
In the absence of a clear built-in setting, one tried-and-true solution is editing the Windows registry.
1. Type “regedit” in the taskbar search box and open Registry Editor.
2. Navigate to HKEY_LOCAL_MACHINE\SOFTWARE\Microsoft\Windows NT\CurrentVersion\NetworkList\Profiles.
3. Examine each subfolder (each represents a network profile) and find the “ProfileName” entry.
4. Double-click “ProfileName,” enter the new name, and select OK.
5. Restart your computer for changes to take effect.
Method Two: Using Local Security Policy
For those running Windows Professional, Enterprise, or Education editions, another path is Local Security Policy.
1. Press Windows + R, type “secpol.msc,” and hit Enter.
2. Locate “Network List Manager Policies” in the left pane.
3. Find the network profile to rename in the right pane.
4. Double-click the relevant profile, click on the “Name” field under the Network Name tab, and enter the new label.
5. Restart your device to confirm the change.
Method Three: Network Profile Name Changer
A simpler method is the free Network Profile Name Changer utility, which requires no installation.
“Download the ZIP file, extract, then double-click ‘Net Pnc.exe’ to launch,” the article explains. Upon running, it displays all your network profiles. Just select the one you’d like to rename, click “Rename,” and enter the new name.
Organizing Your Connections
Whether you opt for the Registry Editor, Local Security Policy, or the third-party tool, changing the default profile names can help you quickly identify networks on your computer. By adopting a clear naming system, you reduce confusion and streamline your overall experience on Windows.